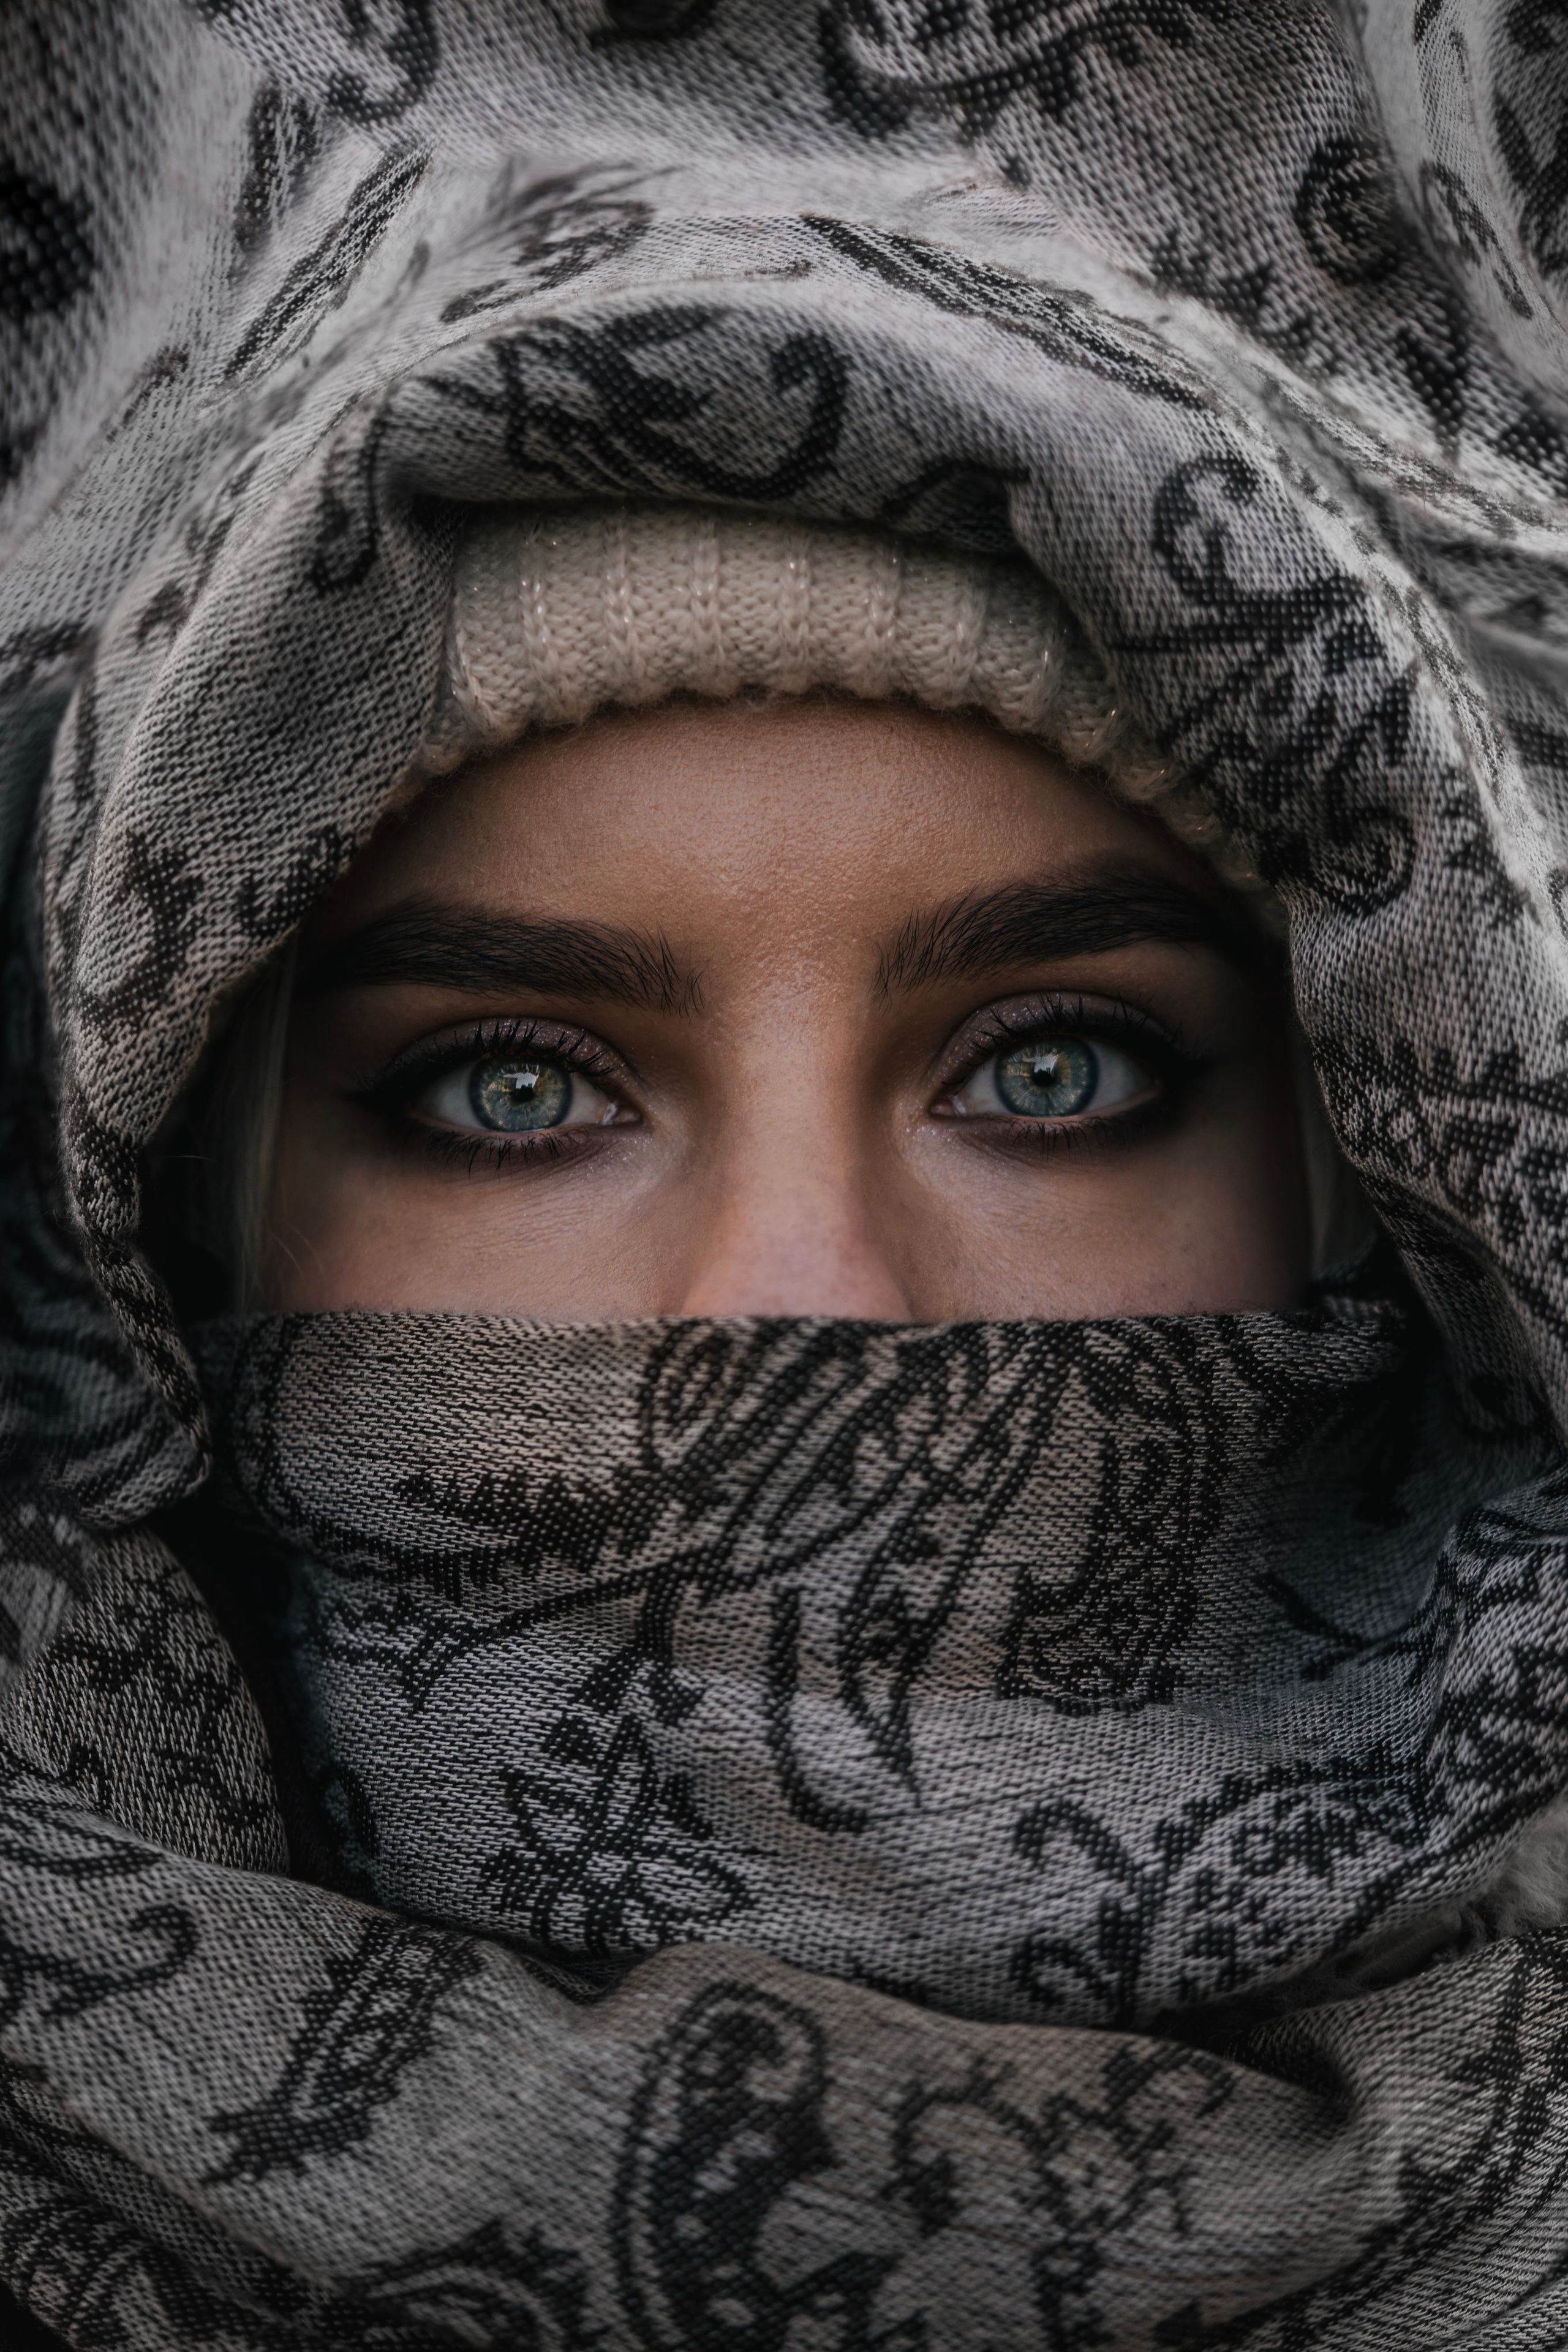
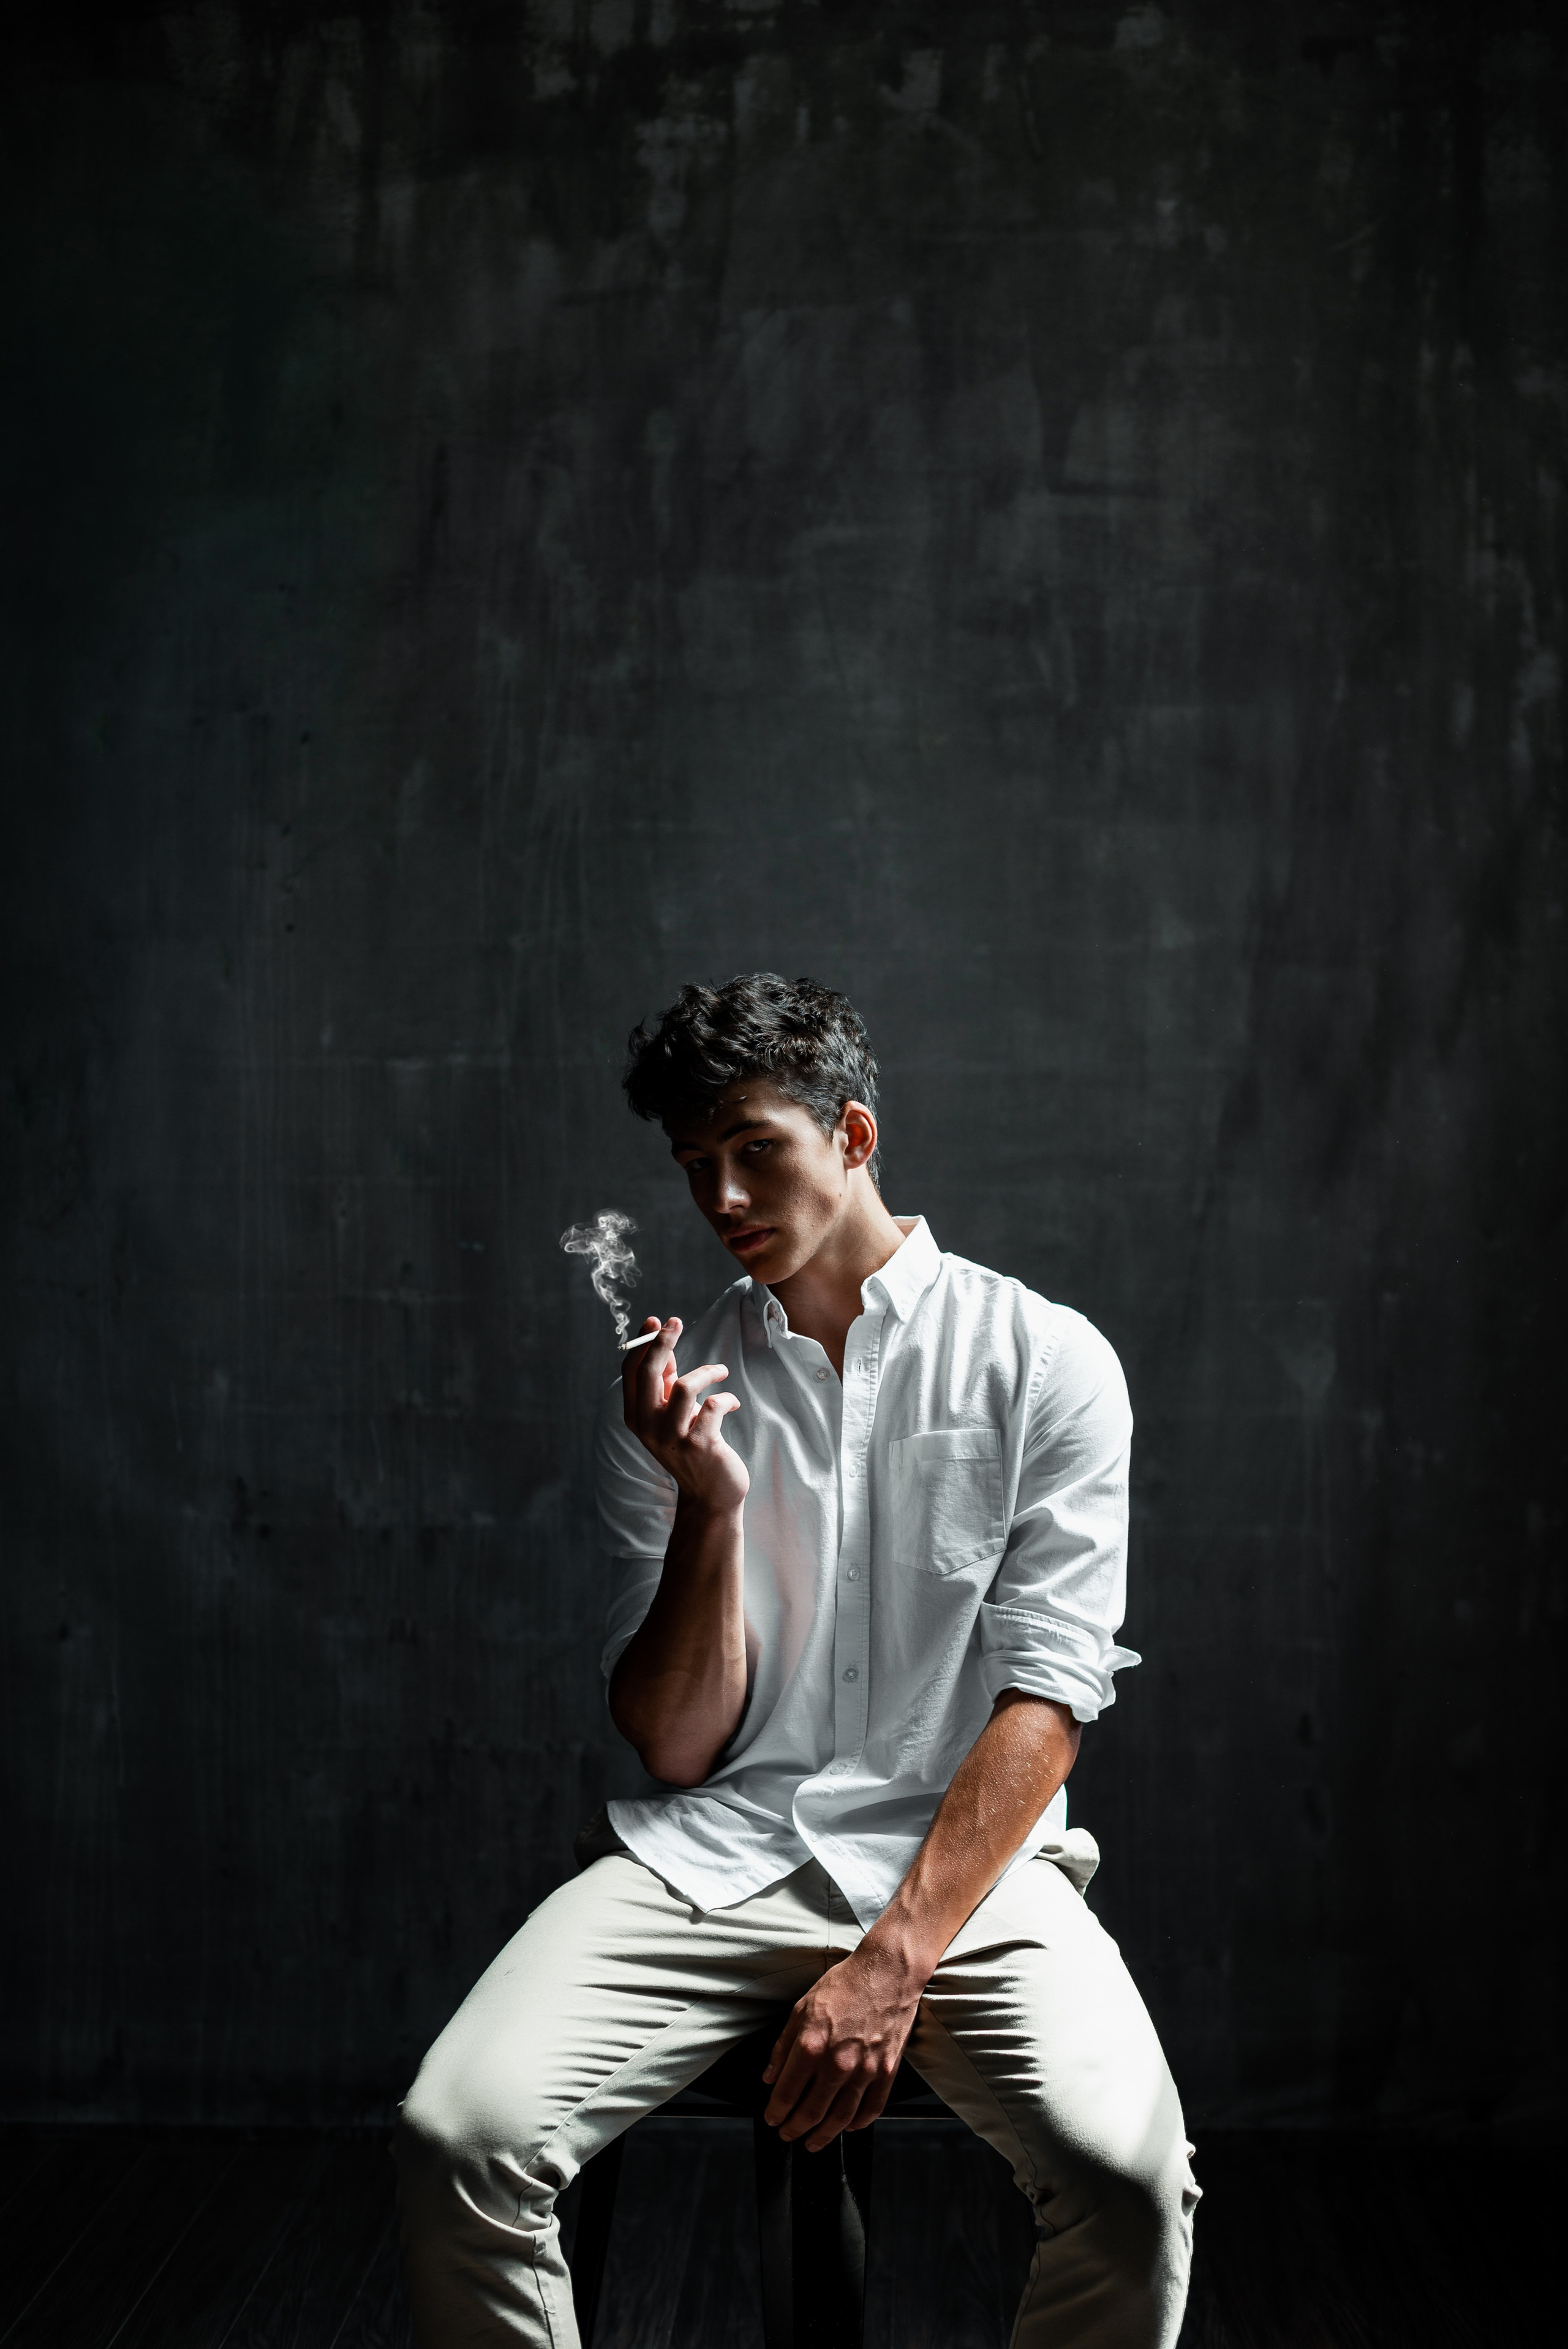
Creating a moody, cinematic edit in Lightroom can help to add a dramatic and atmospheric effect to your photos. Here are the steps to follow:
- Start by selecting your photo in Lightroom and switch to the Develop module.
- Adjust the exposure and contrast of your photo to achieve a darker, moodier look. You can also play around with the highlights, shadows, whites, and blacks to further refine the tonal range.
- Increase the saturation of the red, orange, and yellow hues to add warmth to the image, and desaturate the blues and greens to create a cooler, more subdued tone.
- Adjust the tone curve to create a more contrasty and dramatic effect. You can create an S-curve by dragging the shadows down and the highlights up, and then fine-tune the mid tones to get the desired effect.
- Add some split toning to further enhance the mood of the image. For example, you can add a warm orange or yellow tone to the highlights and a cool blue or green tone to the shadows.
- Finally, apply some vignetting to the image to darken the edges and draw the viewer’s eye towards the centre of the image. You can also add some grain to create a more cinematic look.
These are just some basic steps to create a moody, cinematic edit in Lightroom. Remember, the key is to experiment with different settings and adjustments until you achieve the desired effect.


